Built-In Wardrobe Design: A Practical Guide
A good built-in wardrobe is designed from the inside out. Plan what it must hold first; the doors, handles and finish follow.
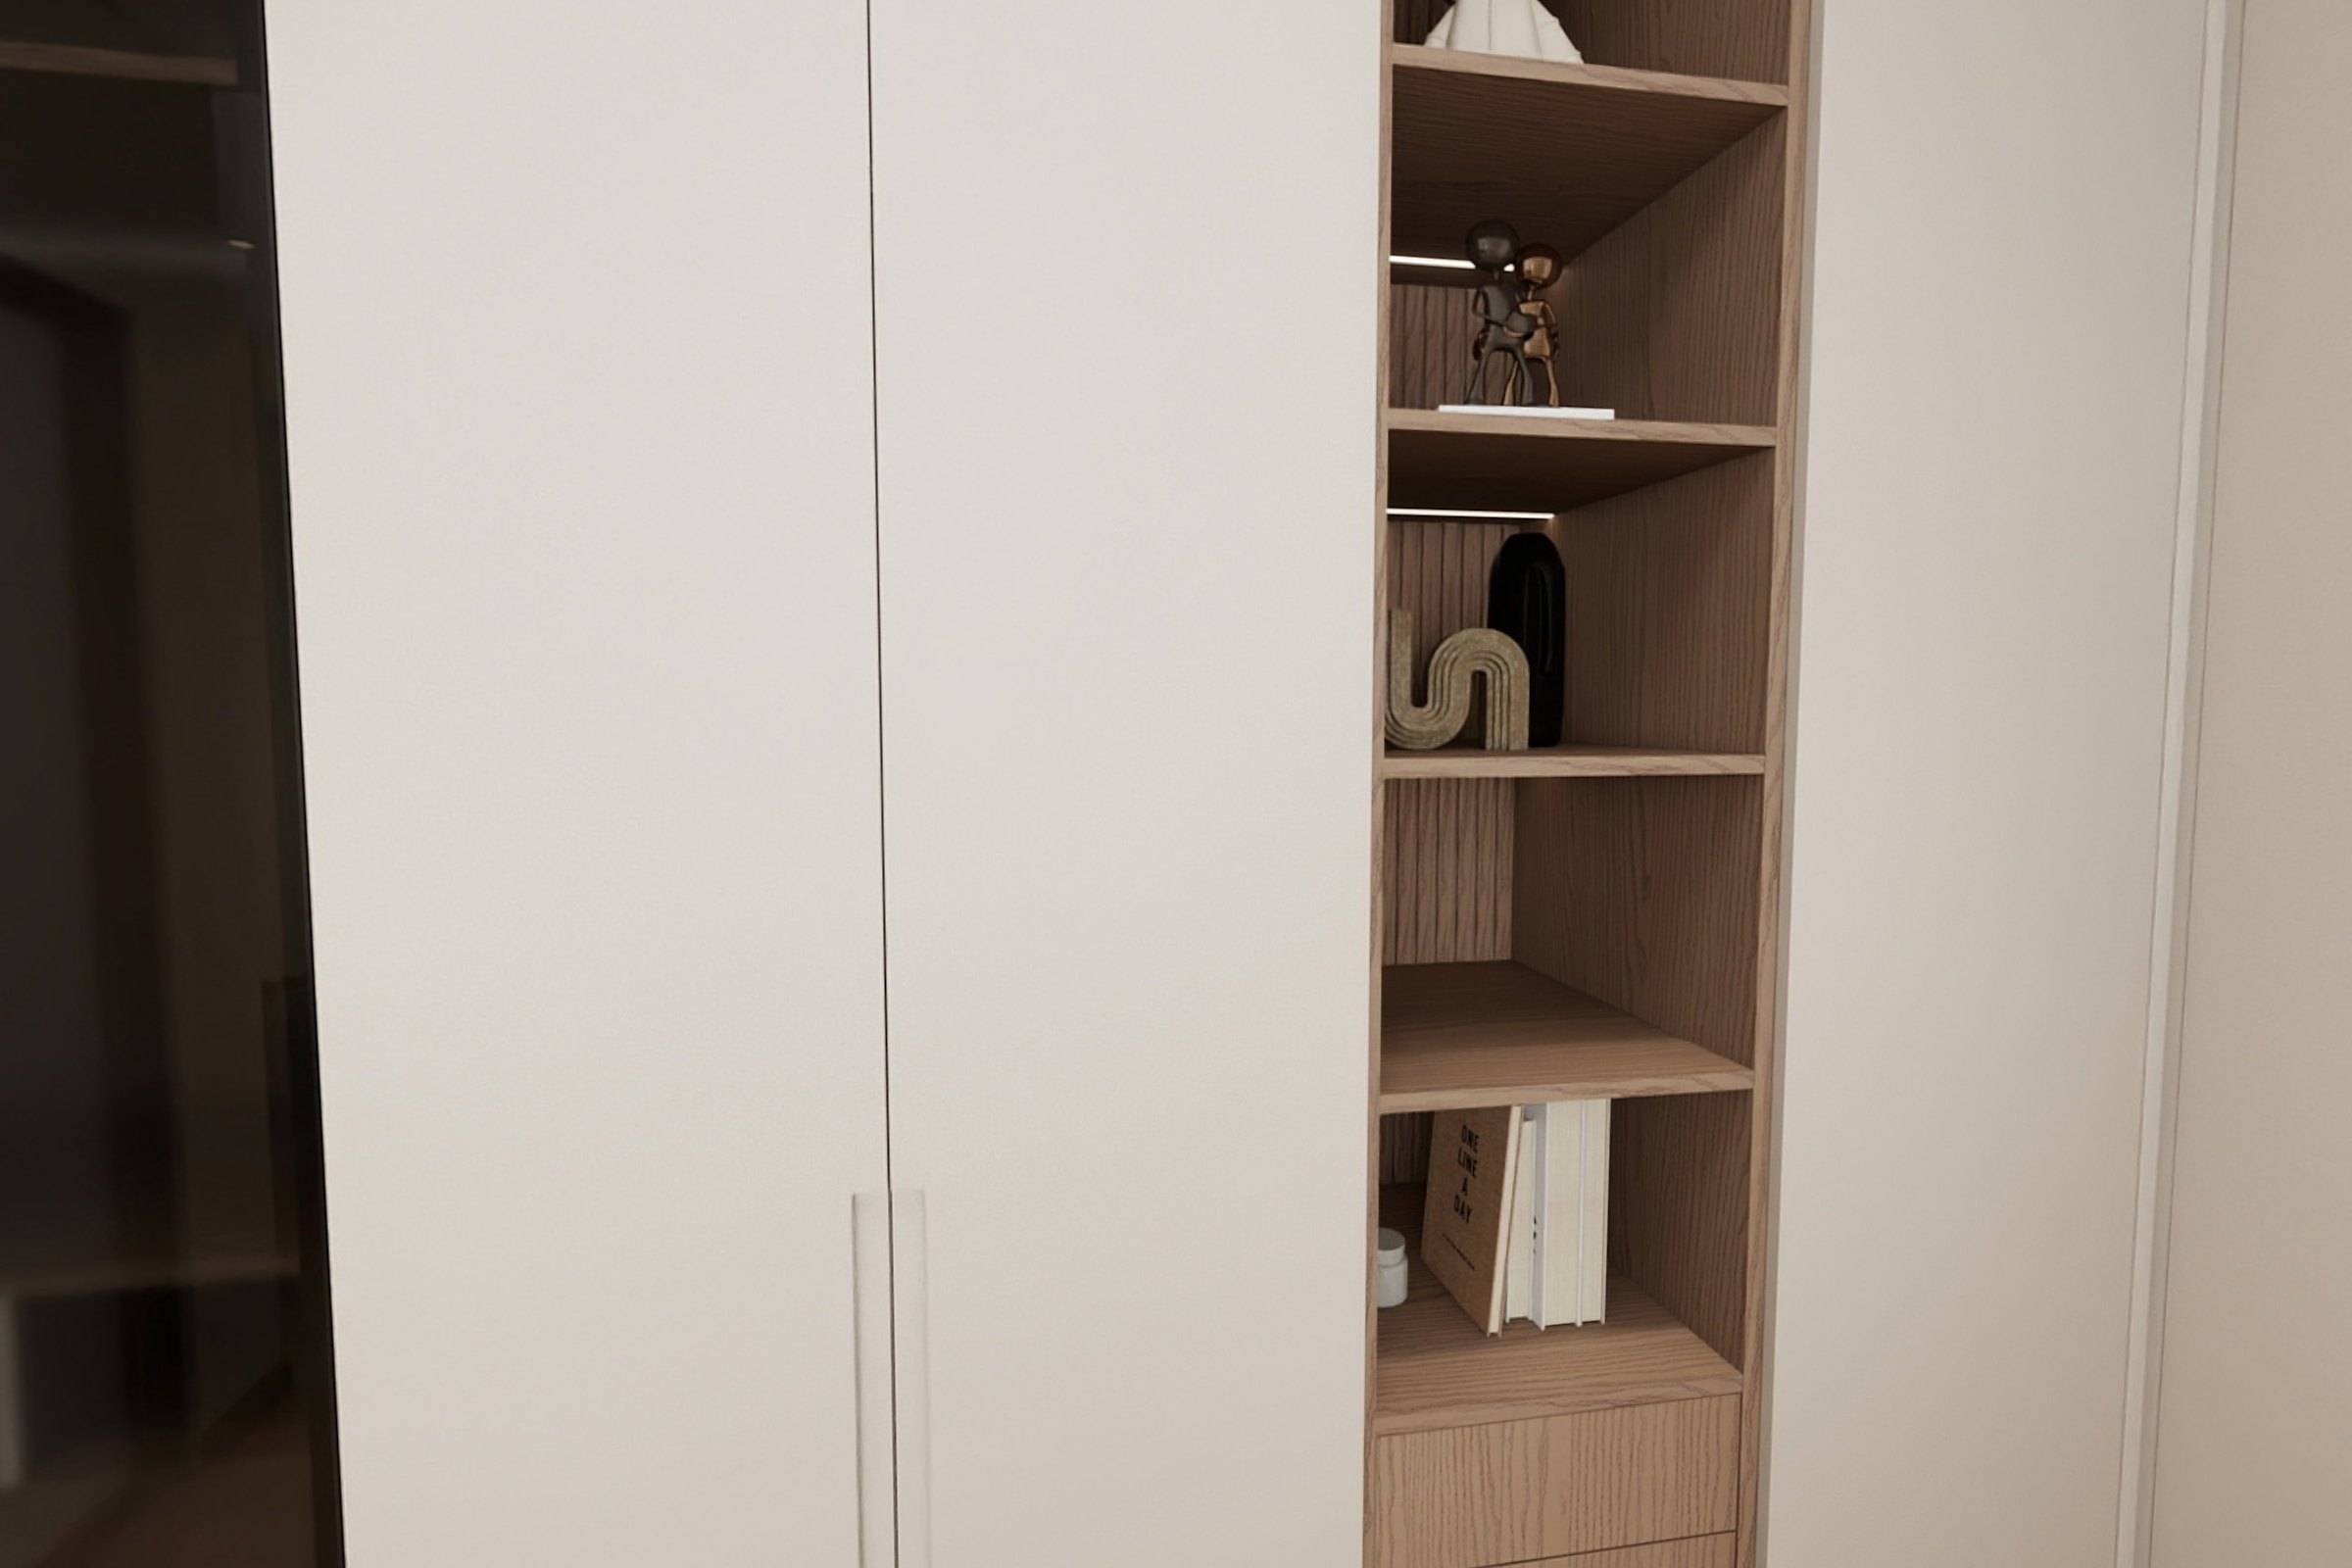
Good built-in wardrobe design starts with an inventory, not a door style. Work out what you need to store — long and short hanging, folded clothes, shoes, bags, bedding, suitcases — then plan the internal layout to hold it, set the depth and height to the room, and only then choose doors, handles, finish and lighting. Done in that order, a wall of wardrobes can hold far more than a freestanding piece and disappear into the architecture of the room. Done the other way round, it becomes a handsome façade over awkward, half-used space.
This guide covers the decisions we work through when designing custom cabinetry for bedrooms. Walk-in dressing rooms raise their own questions and deserve a separate guide; here the focus is the wardrobe built into a bedroom wall, an alcove or a corridor.
Start with an honest inventory
Before any drawing, look at what you own and how you use it. Measure a rail of your longest garments — coats, dresses, long trousers hung from the waistband — and your shorter ones: shirts, jackets, folded trousers. Count shoes, and note which are tall boots. Decide what should be folded rather than hung: knitwear usually keeps its shape better on a shelf. Separate everyday items from seasonal ones, which can live higher up or in another room.
- Long hanging: coats, dresses, gowns — measure the longest.
- Short hanging: shirts, jackets, skirts, folded trousers.
- Folded: knitwear, T-shirts, sportswear.
- Drawers: underwear, socks, accessories, jewellery.
- Shoes and boots, bags and hats.
- Occasional storage: luggage, spare bedding, out-of-season clothes.
If the wardrobe is shared, plan each person's share separately. Two people rarely store the same mix, and a single layout split down the middle often suits neither.
Depth, height and the wall itself
Hanging clothes need a certain depth for shoulders to hang square to the doors without brushing them. A common working figure for the internal depth of a hanging section is around 55 to 60 cm; less than that and hangers must turn sideways or doors rub. Shelf and drawer sections can be shallower, which is sometimes useful where a room is tight — though keeping a single depth across the run gives a cleaner front.
Take the wardrobe to the ceiling where you can. Full-height fronts read as a wall rather than a piece of furniture, avoid a dust-collecting gap on top, and give you high storage for things used rarely. Before measuring, check the room carefully:
- Ceiling and floor levels, which are rarely perfectly true — the design should allow for scribing to fit.
- Skirting, cornice, picture rails and window reveals near the run.
- Sockets, switches, radiators and any vents or access panels on the wall.
- Door swing into the room, and the space needed in front of the wardrobe to open its own doors and drawers comfortably.
Where cabinetry connects to walls, ceilings or services, the work is coordinated with the builder or licensed professionals on site. We design the joinery; building work stays with them.
Planning the internal layout
Most wardrobes are divided into vertical sections, each with a clear job. A balanced layout might include one tall section for long hanging, a double-hanging section with two rails for shirts and jackets, and a section of shelves and drawers. Place the things you use every day between roughly hip and shoulder height, where they are easiest to see and reach; put occasional items above and heavier items low.
Rails, shelves and drawers
Double-hanging is the most space-efficient way to store shorter garments, but check the lower rail clears the floor or drawers beneath it once clothes are on it. Adjustable shelves are worth the small visual cost of shelf-pin holes, because needs change. Internal drawers sit behind the doors, which keeps the front calm; set them back far enough that they clear the hinges and any handles as they open.
Useful details
- Pull-down hanging rails for high sections, where the ceiling is tall.
- Shallow divided trays for jewellery, watches and ties.
- Pull-out trouser rails and shoe shelves angled for visibility.
- A tall, narrow slot for an ironing board or a full-length mirror inside a door.
- Ventilation for any section holding shoes or damp-prone items.
Choosing wardrobe doors
Doors decide how the wardrobe looks and how the room works. Hinged doors open fully, so you can see the whole section at once, but they need clear floor space in front. Sliding doors need no swing space, which suits narrow rooms, but only part of the interior is open at any time and the overlapping tracks add depth. Pocket doors, which slide back into the carcass, can give open access without doors in the way, at the cost of some internal width.
Then the face itself. Flush, handle-less fronts with fine shadow gaps make a wall of wardrobes almost disappear — the approach in the Garden Residence, where pale flush doors sit beside a column of open timber shelving. Panelled or moulded doors suit classical rooms, and glass-fronted doors turn part of the wardrobe into display, as in the principal bedroom of the Classical Residence. A mirrored door can double as a dressing mirror and make a small room feel larger.
Handles and opening
Handle-less doors can open by push-to-open mechanisms or by a routed finger grip along the edge. Push mechanisms keep the front perfectly plain but can be opened by accident and need a firm press; finger grips are simple and reliable. Visible handles, whether slim bars, leather pulls or small knobs, add a point of detail and are the easiest to use every day. Whatever you choose, try it with your hands on a sample before deciding across a whole wall.
Materials and finish
Wardrobe fronts are touched daily, so the finish must suit handling as well as the room. Lacquered fronts give a smooth, even colour; timber veneer brings warmth and grain, and oak is a calm choice for large areas. Interiors can be lighter than exteriors — a pale lining makes clothes easier to see — or deliberately contrasting, so that opening a door reveals a second palette. Leather-wrapped handles, fabric-lined drawers and cedar or felt details are small touches that make daily use more pleasant.
Lighting inside and out
Integrated lighting makes a wardrobe far easier to use. Linear lights set into the front edge of shelves or above rails, switched automatically when a door opens, light clothes rather than the back of the cabinet. Choose a warm, even light with good colour rendering so that navy and black can be told apart. Lighting must be planned with the electrical layout, since power has to reach the wardrobe, and fitted by a qualified electrician. On the outside, a lit open niche or a strip of light along the top or base can soften a large run of doors in the evening.
Designing for small and awkward rooms
Built-in wardrobes make the most of rooms that freestanding furniture struggles with: sloping ceilings, chimney-breast alcoves, the space around a door or a bed. Wardrobes can wrap a bed to form a headboard wall, or combine with a desk or vanity where a bedroom must also be a study — as in the compact study in the Family Apartment, where a full wall of flush wardrobes sits beside a floating desk.
Questions to answer before you commit
- What exactly will this wardrobe hold, and for whom?
- Which items are used daily, and which only seasonally?
- Is there space in front for hinged doors, or do you need sliding or pocket doors?
- How should the front relate to the room: disappear, match other joinery, or become a feature?
- Where will power come from for lighting, and who will fit it?
- How will large panels reach the room — stairs, lifts, corridors?
Every wall and wardrobe is different, which is why we design them to measure as part of custom bedroom furniture. If you are planning a bedroom, start a project with a floor plan, photographs of the wall and a note of what you need to store.
Continue reading
Tell us about your space.
Share your floor plan, room photographs and what you hope to create.